My Instagram Book
If you've been around here long enough, you know that I have a deep affection for pictures. And when my iPhone is never more than a few feet from me, it obviously becomes my favorite go-to "camera" for snap shots of our wild...crazy...beautiful life.
And the fact that I can slap my photos into Instagram and apply pretty filters to them? Well that's just the bees knees for this self-diagnosed Mamarazzi.

What I also have a deep affection for is photo-books. I come from a line of family members with terrible long-term memories and I have a fear that someday I'm going to be old and senile and can't remember anything I did with my wonderful girls.
Heck, I can barely remember what I did last week, let alone last year.
Which makes marrying the two - Instagram and Photo Books - into something that, for me, is truly priceless.
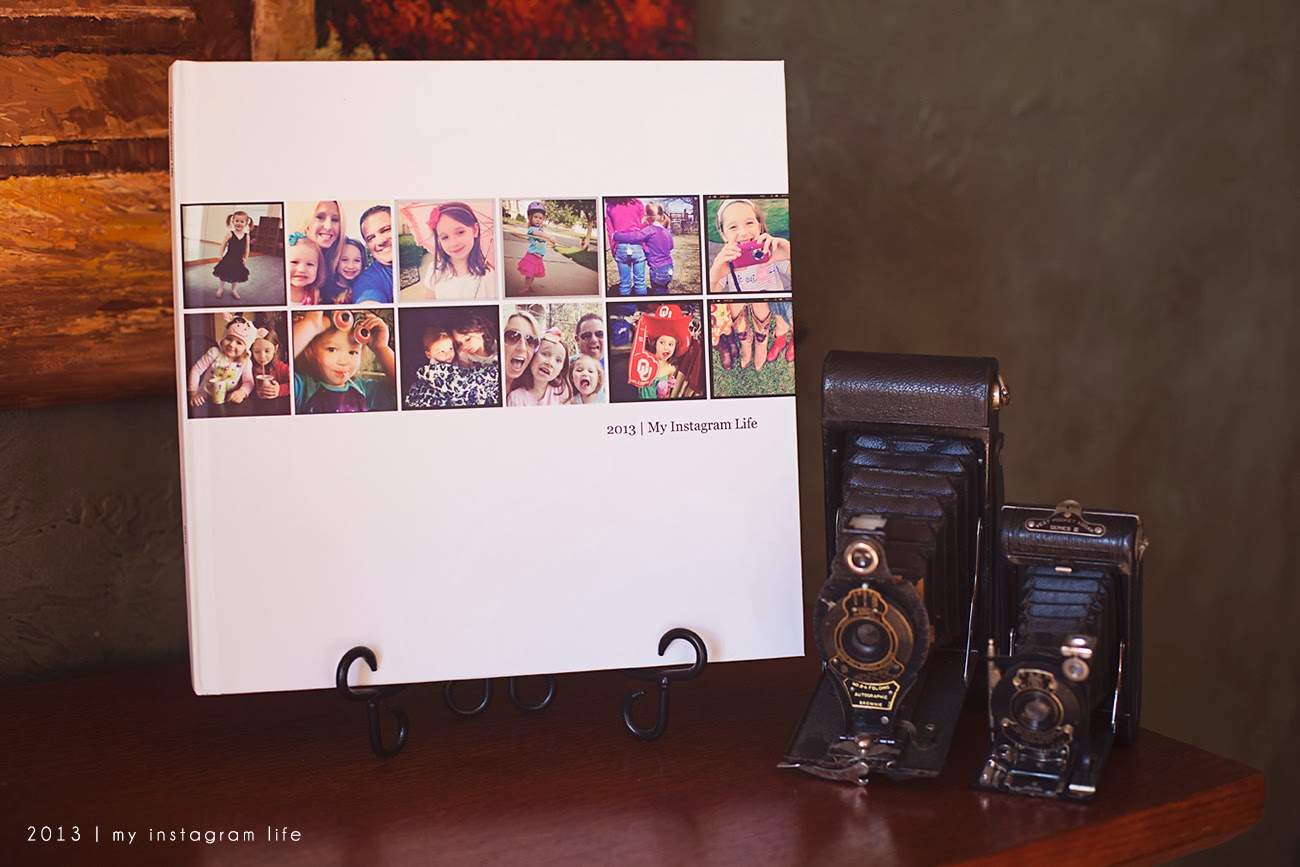
{cover}

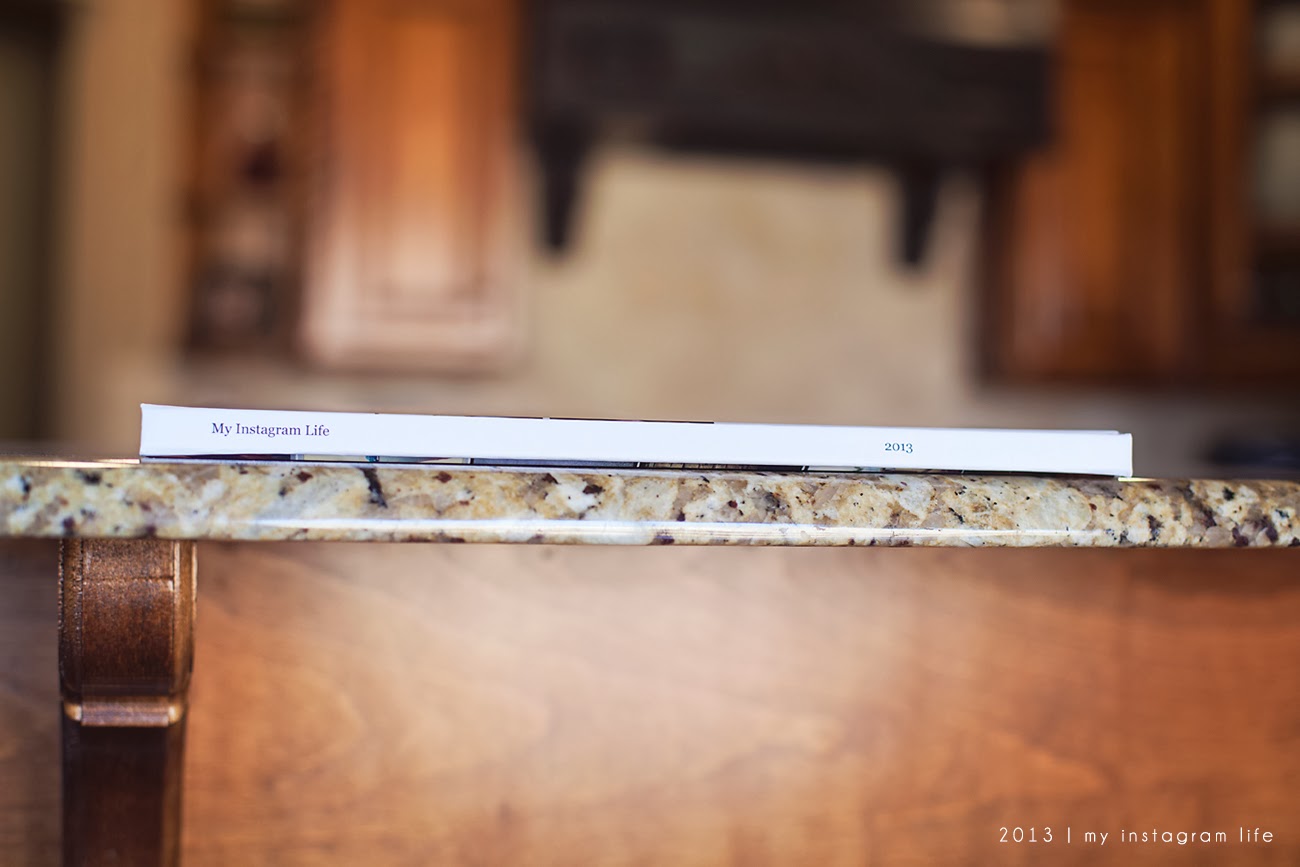
{back}
That, in a nutshell, is what leads me to this blog post. Last week, when I posted excitedly that my Instagram book had arrived in the mail, over a dozen friends across the country asked me how I'd done it. Now, I know that there are a handful of different websites that can do what I'm about to tell you I did. Trust me, I looked around for a couple hours online one night trying to find the best "fit" for my needs.
And my needs were simple. Zap all my Instagram pictures into a simply laid-out book and print each corresponding caption.
Now, I'll be the first to tell you, I never found a magical website that did ALL of that for me. And some websites put a limit on how many photos I could use, which was a real bummer because I wanted to include all 917 photos in mine. But with a little trial and error, and a few wonderful websites, I was able to make my perfect, priceless book in the end.
Here's how I did it.
****
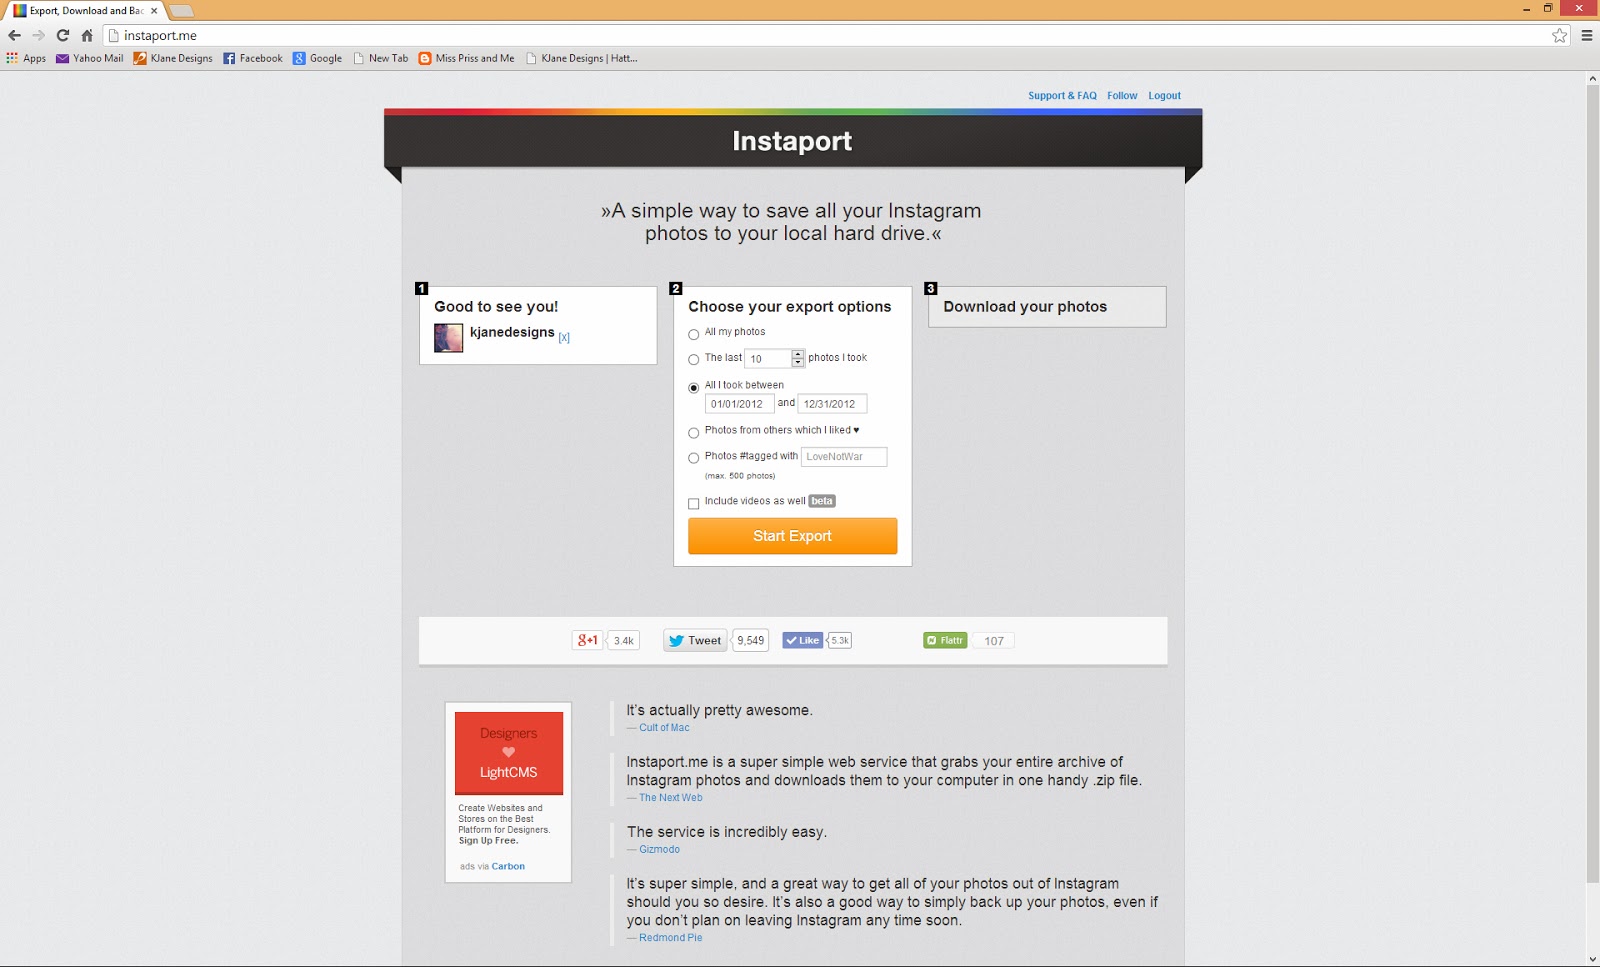
The first step is to go to www.instaport.me and download your photos from Instagram. You simply click the orange "Sign in with Instagram" to have access to the photos in your account.
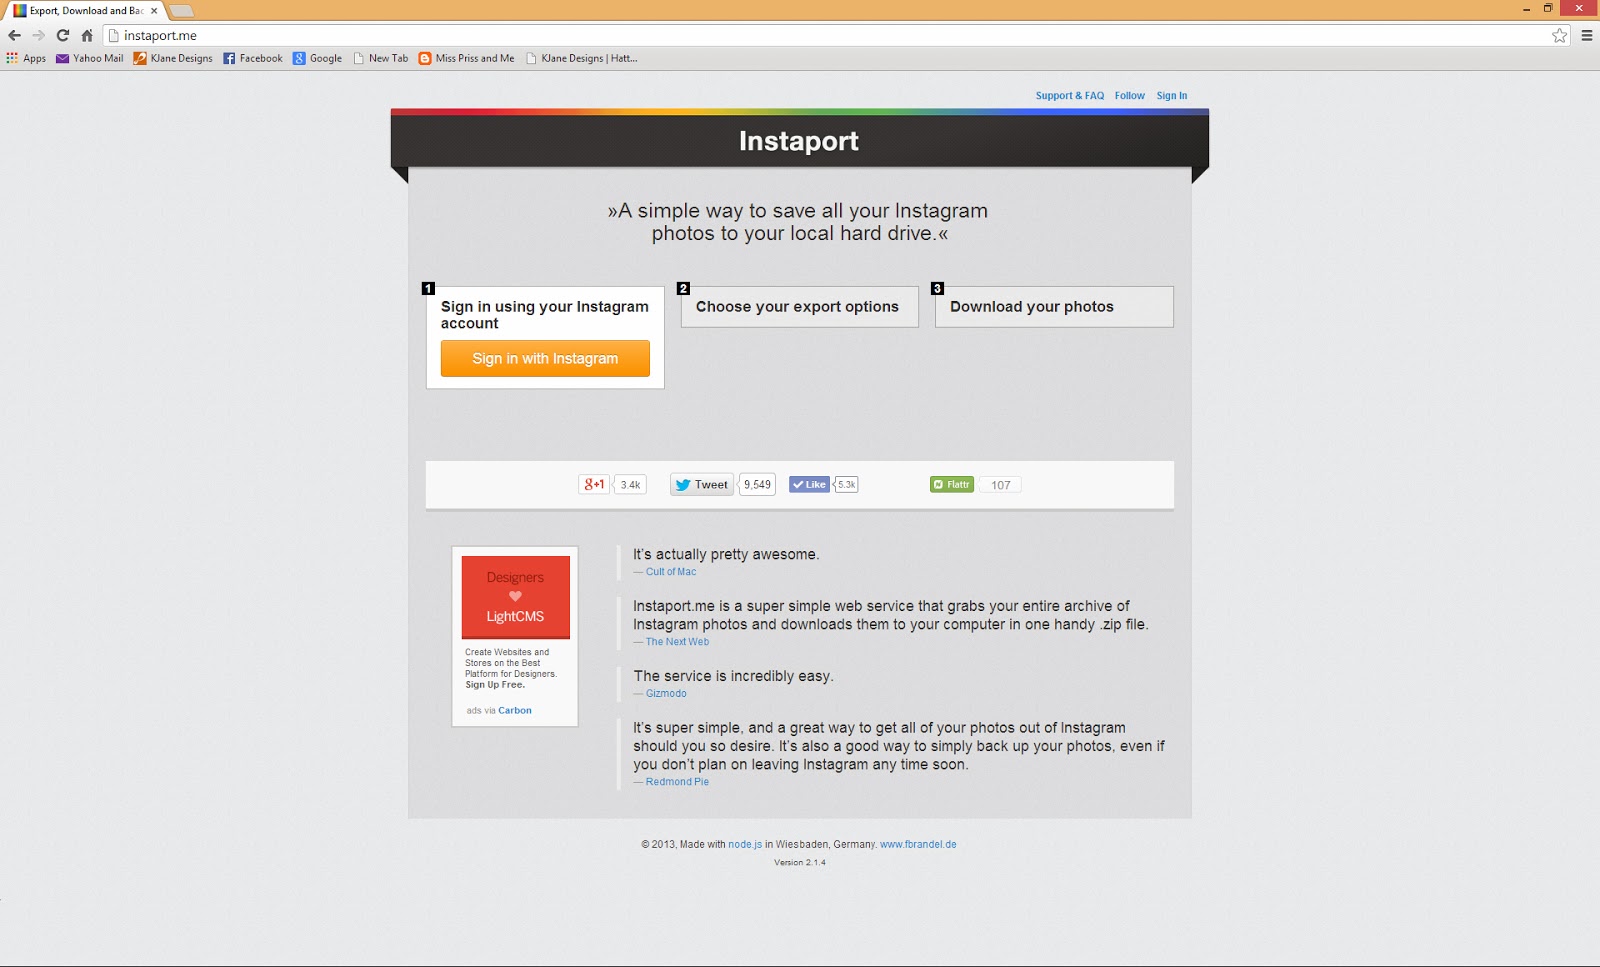
One thing I really liked about this website was the ability to pick and choose which photos I wanted to export. Since I was doing an annual book, I selected the "All I took between" option and selected January 1, 2013 - December 31, 2013.
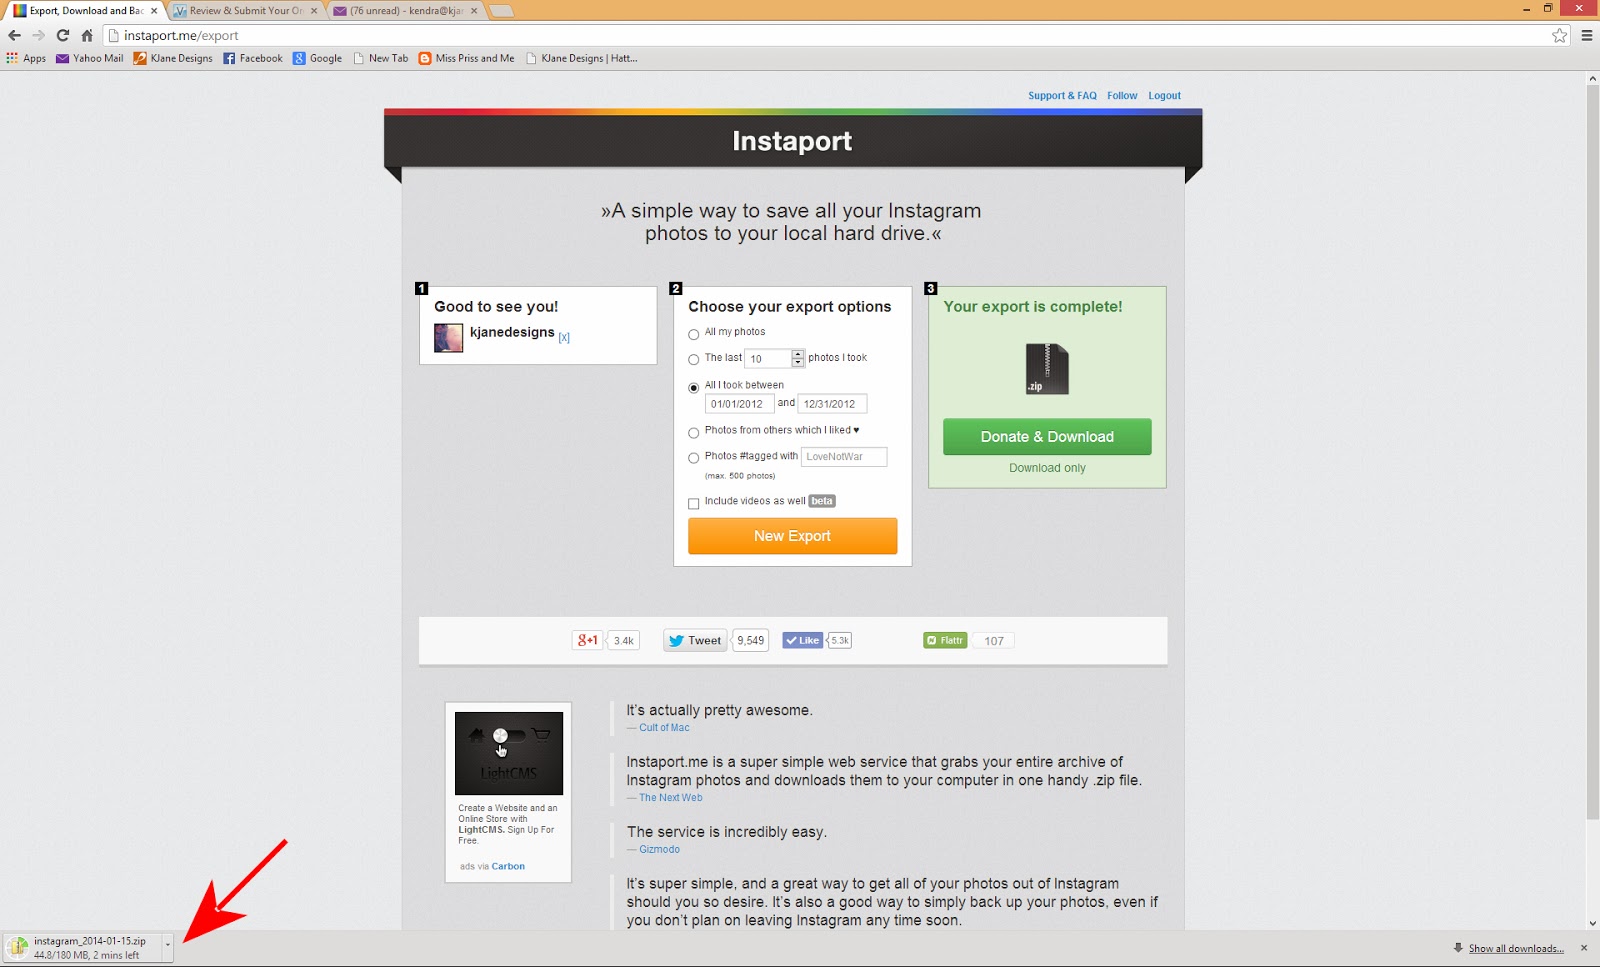
Once your photos have been exported (this might take several minutes depending on the amount of photos you're exporting), you'll have a zip file to open and save to your computer. Be sure to save the jpeg files to a separate folder somewhere on your hard-drive.
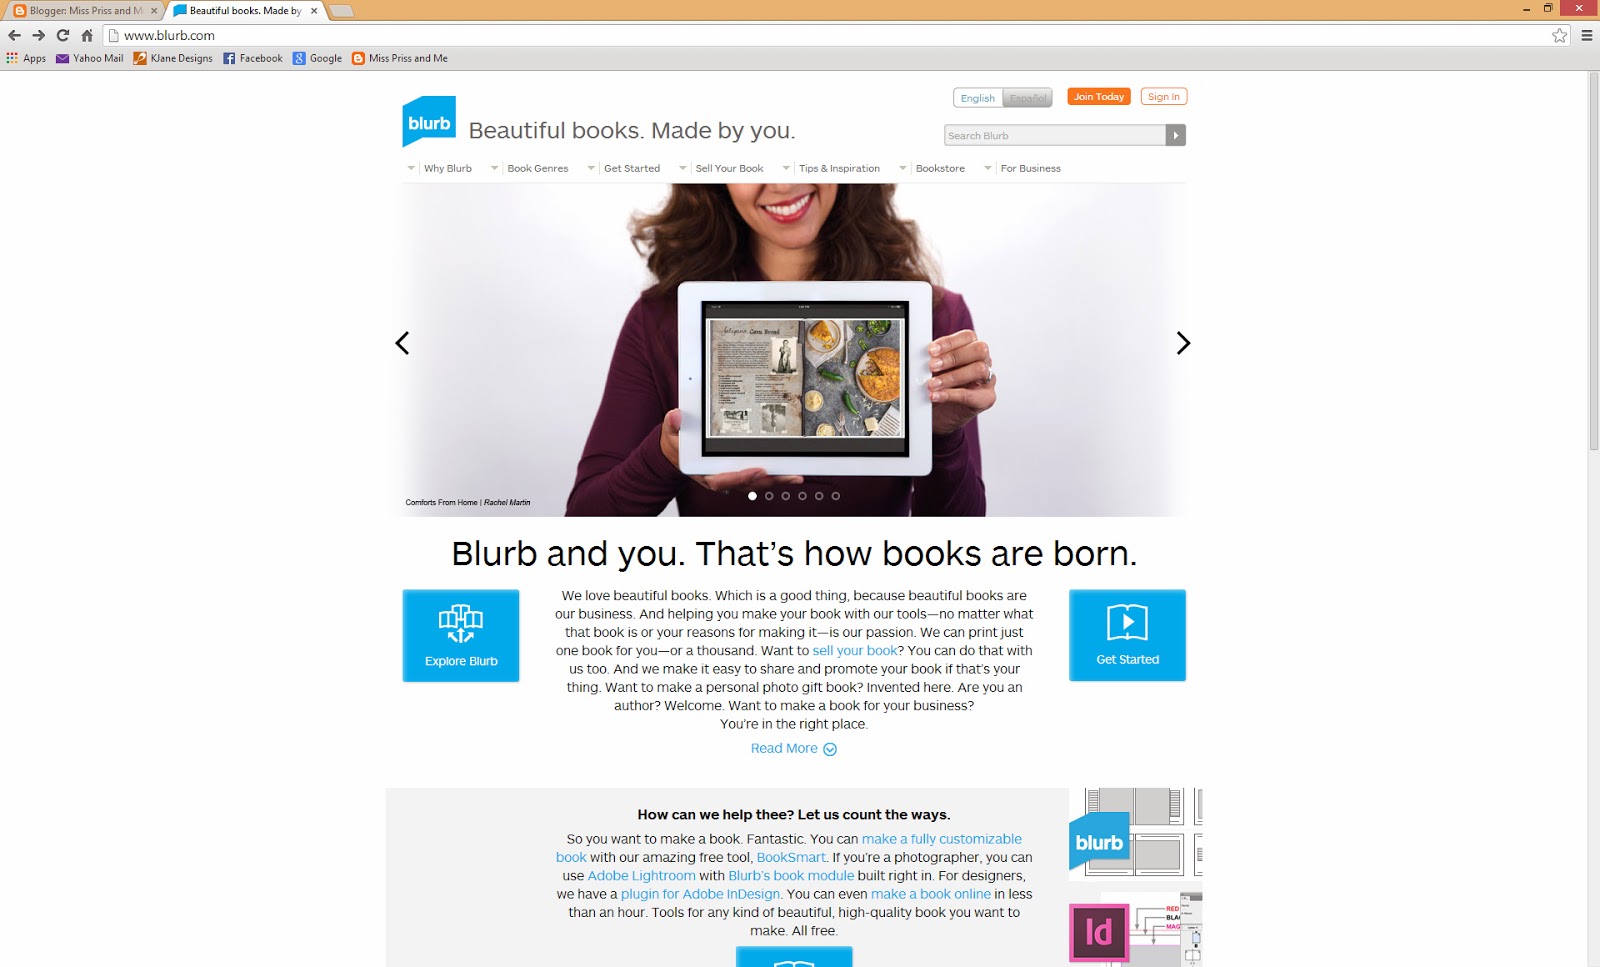
The next step is to go to www.blurb.com and download the FREE Blurb BookSmart software. Just click the "Get Started" icon on the homepage...
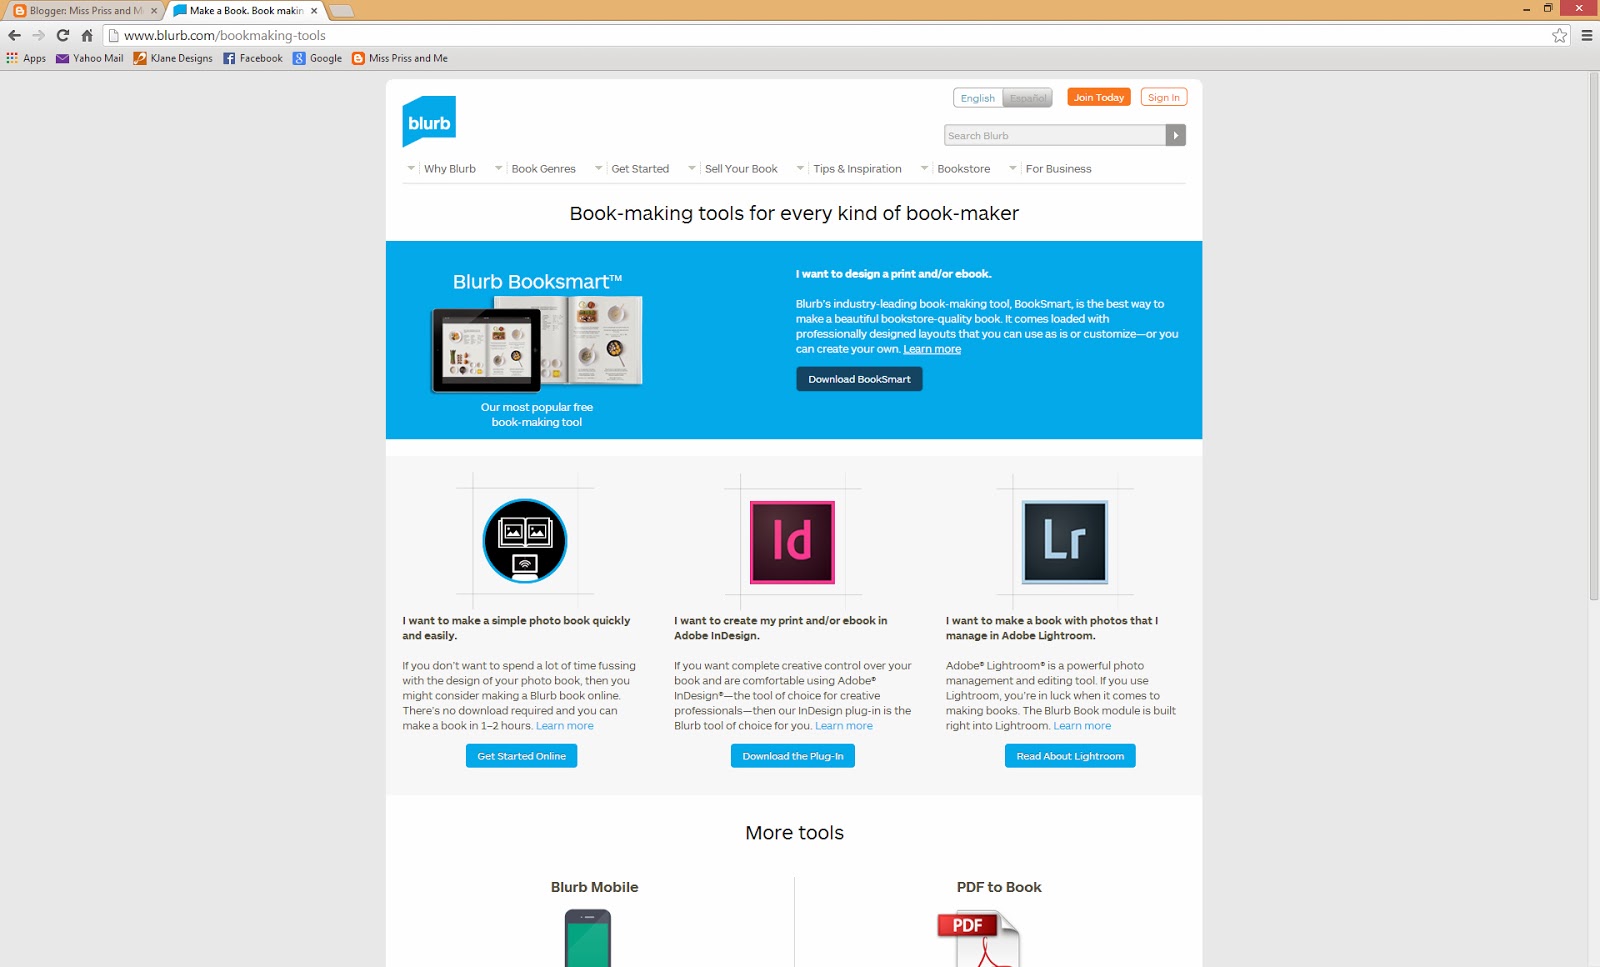
Then click on the "Download BookSmart" on the next page. It will take several minutes and be sure to follow all the steps so that it downloads correctly.
Once it's downloaded, open your new Blurb BookSmart software.
The first thing it'll do is go through your options for what style, size and type of book you want to make.
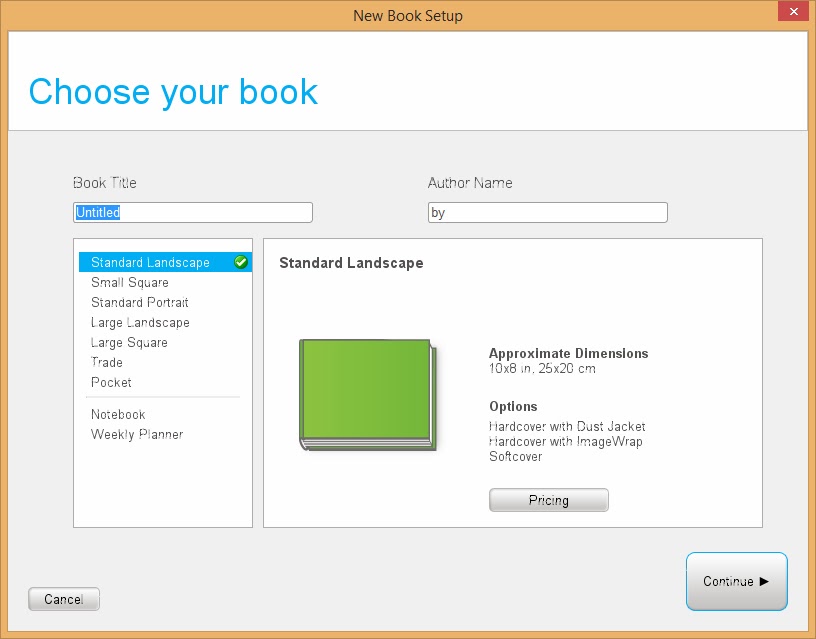
For my book, I chose the Large Square (12x12) Book.
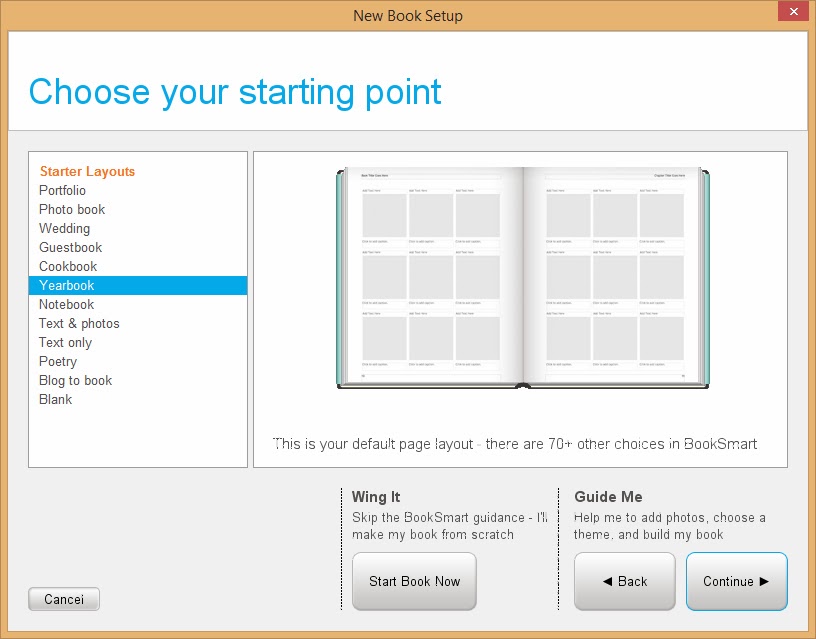
The next option is totally up to you. To simplify things, you can start with the "Yearbook" layout. That will make all the pages a simple nine-picture grid with caption boxes under each one. If you don't plan to print the captions under each photo, you might choose the "Photo book" layout instead.
*Side note.... I originally had no intention of printing each caption under each picture. I knew it would take much longer to make the book, and in my creative opinion, take away from the clean, artistic style I liked. But the day I started my book, I had a friend in town visiting and as I started importing my photos into the book, he asked me about different ones...
"When was that? Where were you guys? What's that on Goose's head?"
Sadly, I had to guess at most of the answers. And it showed me that I had no choice; if I wanted to make a timeless book to remember our family's life in 2013, leaving out the captions wasn't an option.
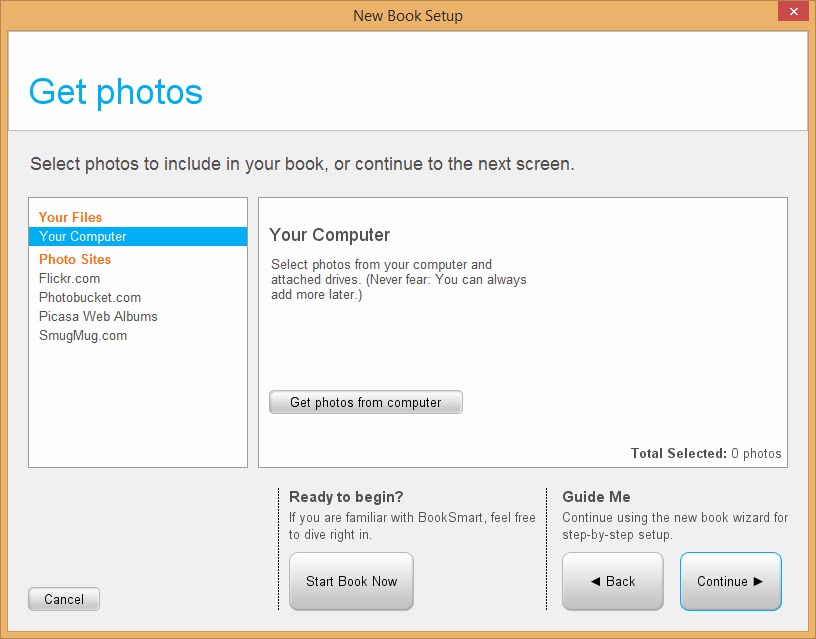
The next screen will ask you to "Get photos from computer"... just go to the folder you've saved them in and select all.
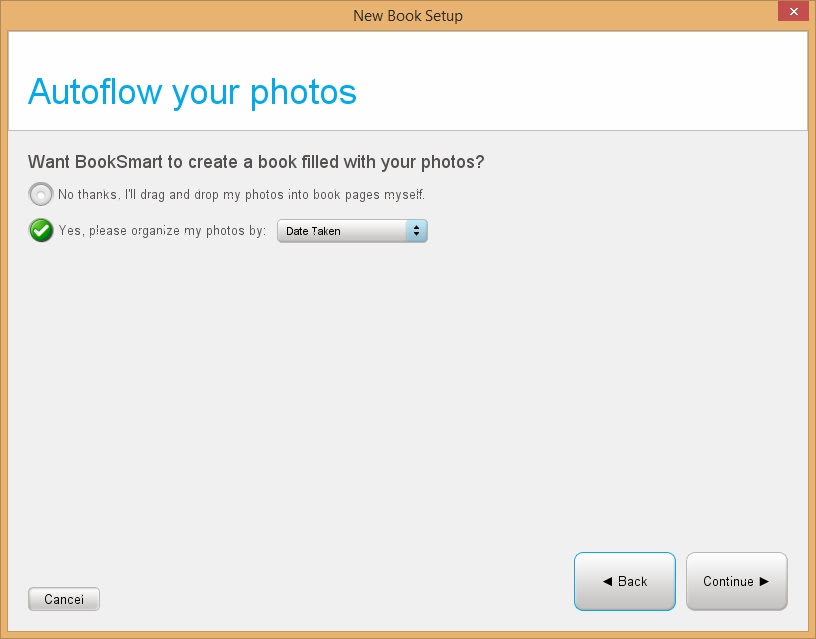
The screen after that is another choice, dependent on how much control you want over your book. The simple option is to click "Yes, please organize my photos by Date Taken." This will zap all your photos - from January to December - into your pre-designed book. But, if you want to take a more creative approach - perhaps changing a few of the layouts and the book order, you might want to click "No thanks, I'll drag and drop my photos into book pages myself."
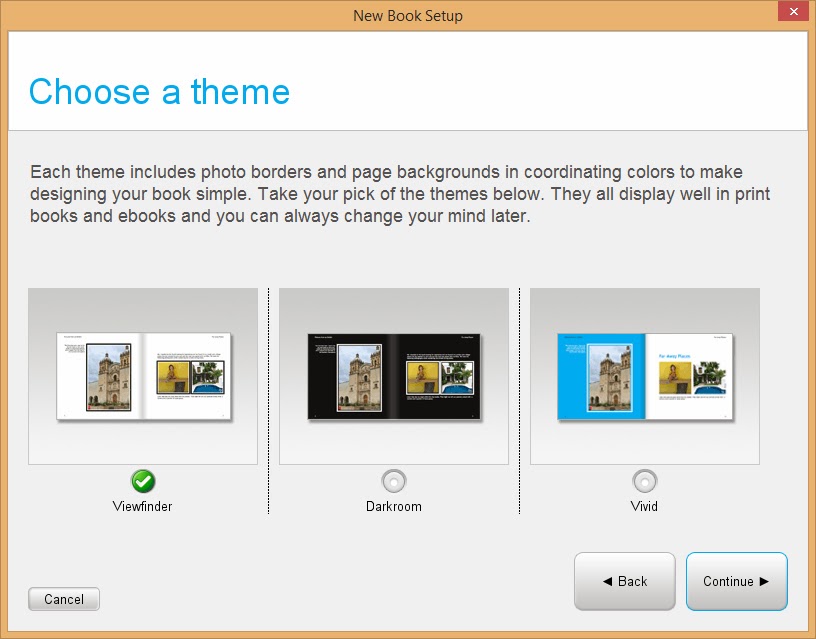
The final screen lets you choose a theme - Viewfinder, Darkroom or Vivid. Again, this is totally up to you on how you want your book to look.
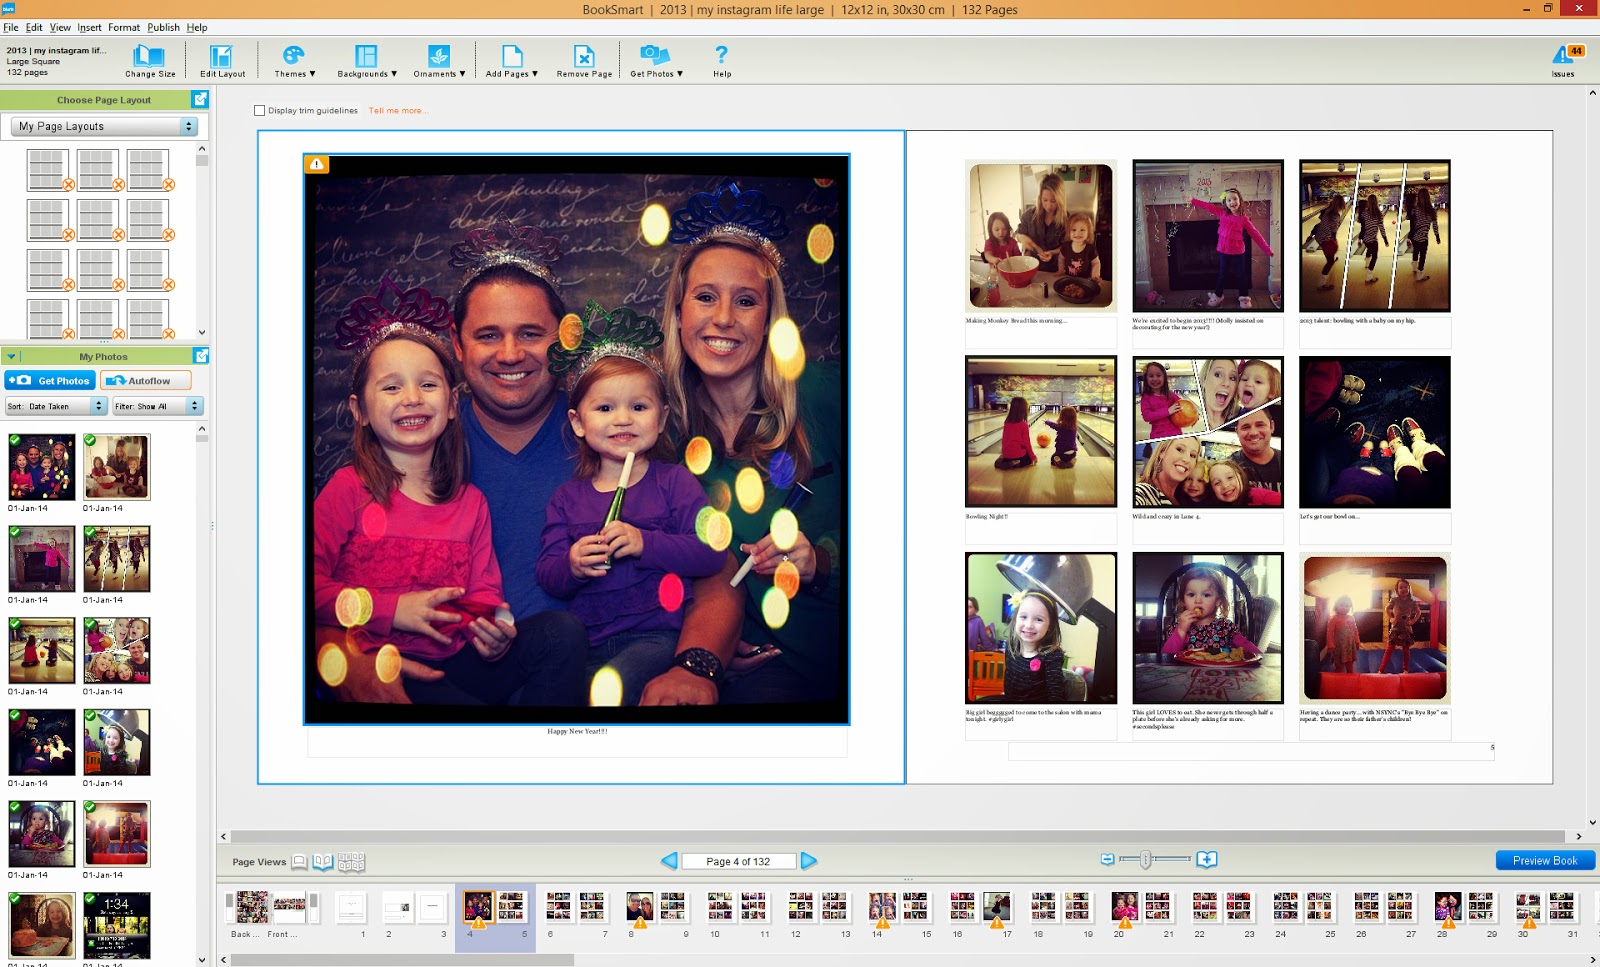
So now it's time to design your book!
If you chose the "Yes, please organize my photos by Date Taken", your photos will already be filled in on each page. If you didn't, your photos will be under the "My Photos" section at the bottom left-hand side of your screen and your blank pages will be across the bottom.
If you chose to drop your photos in yourself, this is where you'll do it. Because everyone will want to do their book differently, I've just listed out a few tips that I found helped me along the way.
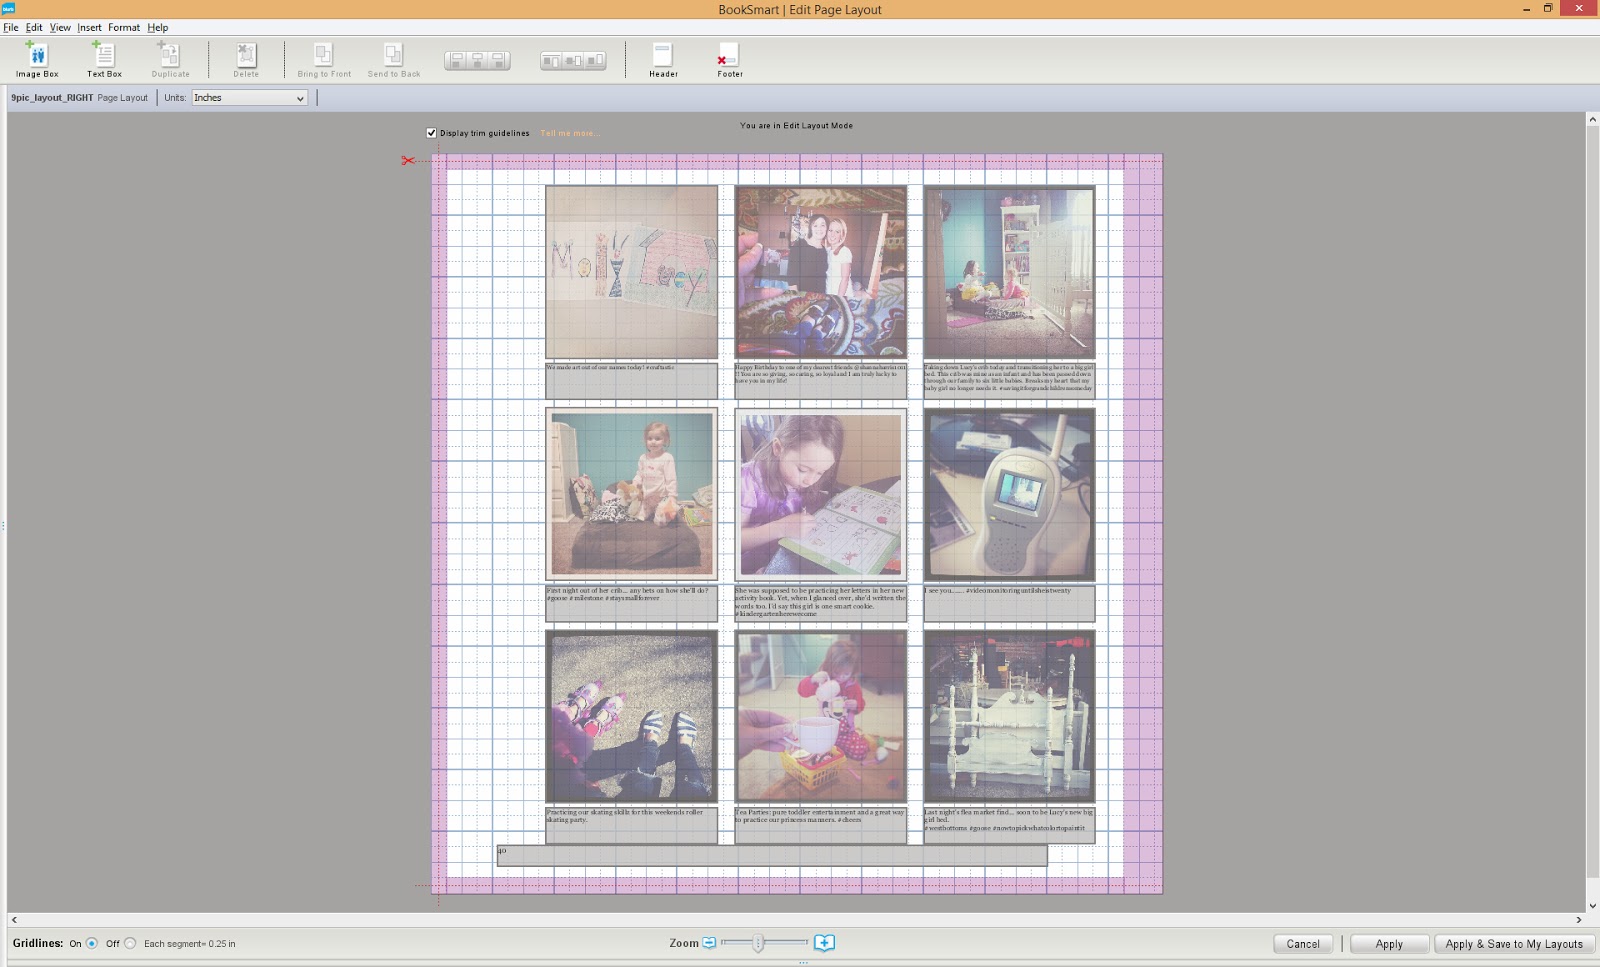
(1) Make your own Page Layouts. Start with a pre-made layout and click at the top on "Edit Layout."
On the next screen, you'll be able to move, shift, re-size, etc. each of your image and text boxes. I started with the Yearbook layout and then adjusted each of the boxes to be square, so that it would fit my square-formatted Instagram pics. Once you're done editing the layout, be sure to click "Apply & Save to My Layouts" and name that specific layout. It makes things easier later on.
(2) Next you'll want to "Add Pages" to the amount of pages you think you'll need. I always over-add, and then delete in the end if necessary. (I ended up with 132 pages on this book.) When it asks what layout you want, you might want to choose the Photo-9 layout, just to save time later.

(3) Once you have your pages, select them all and under "My Page Layouts" choose the custom layout you've created. (I actually made LEFT and RIGHT pages, so I used the control key to choose all the Left-Side Pages and then all the Right-Side Pages when doing this step).
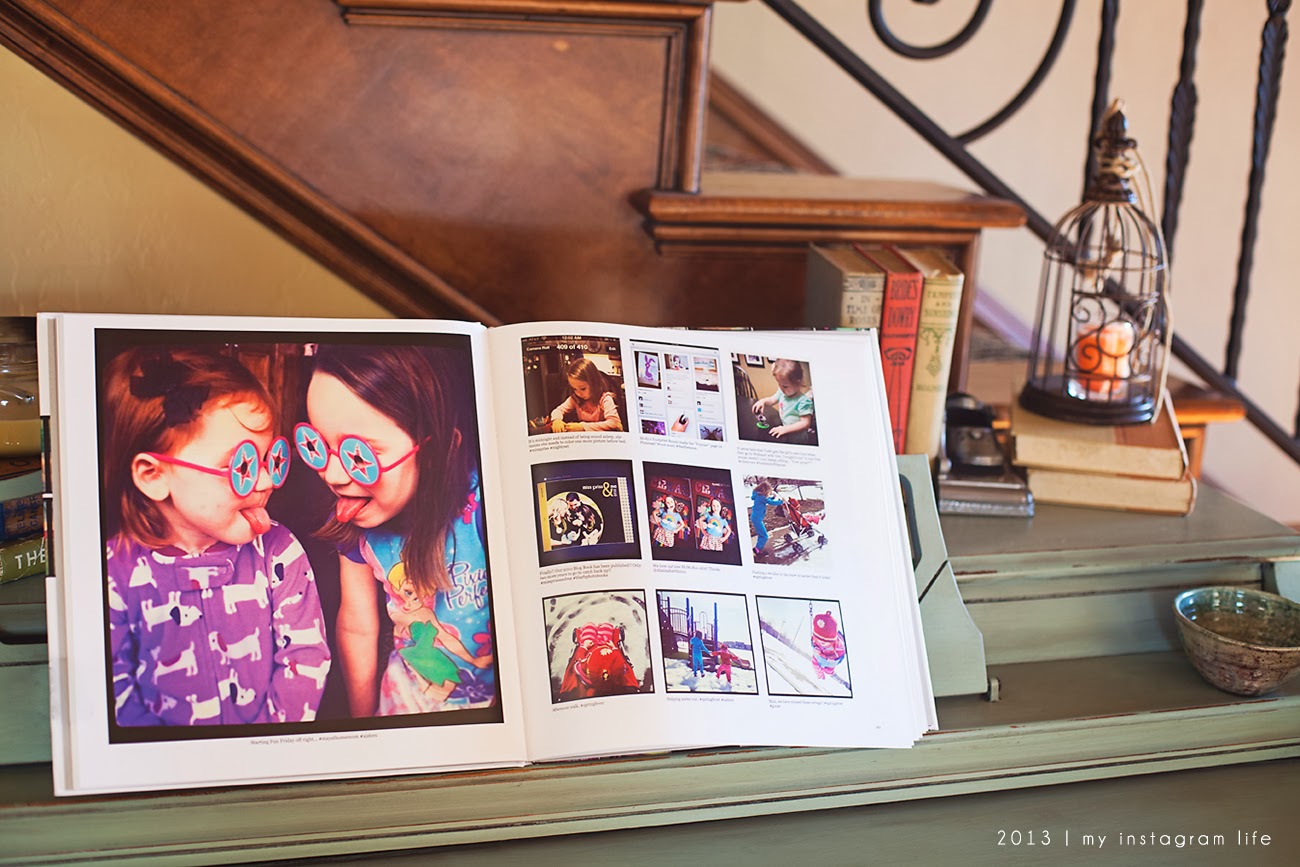
(4) Now starting with page 1, you'll start dragging and dropping your photos. One trick I learned is that you can select multiple images (by holding down shift) and when you drag them over to the first empty image box, it'll then nicely drop the rest of the ones you'd selected in the following boxes. As you go through the book, you can change up your layout to however you choose - single image pages...
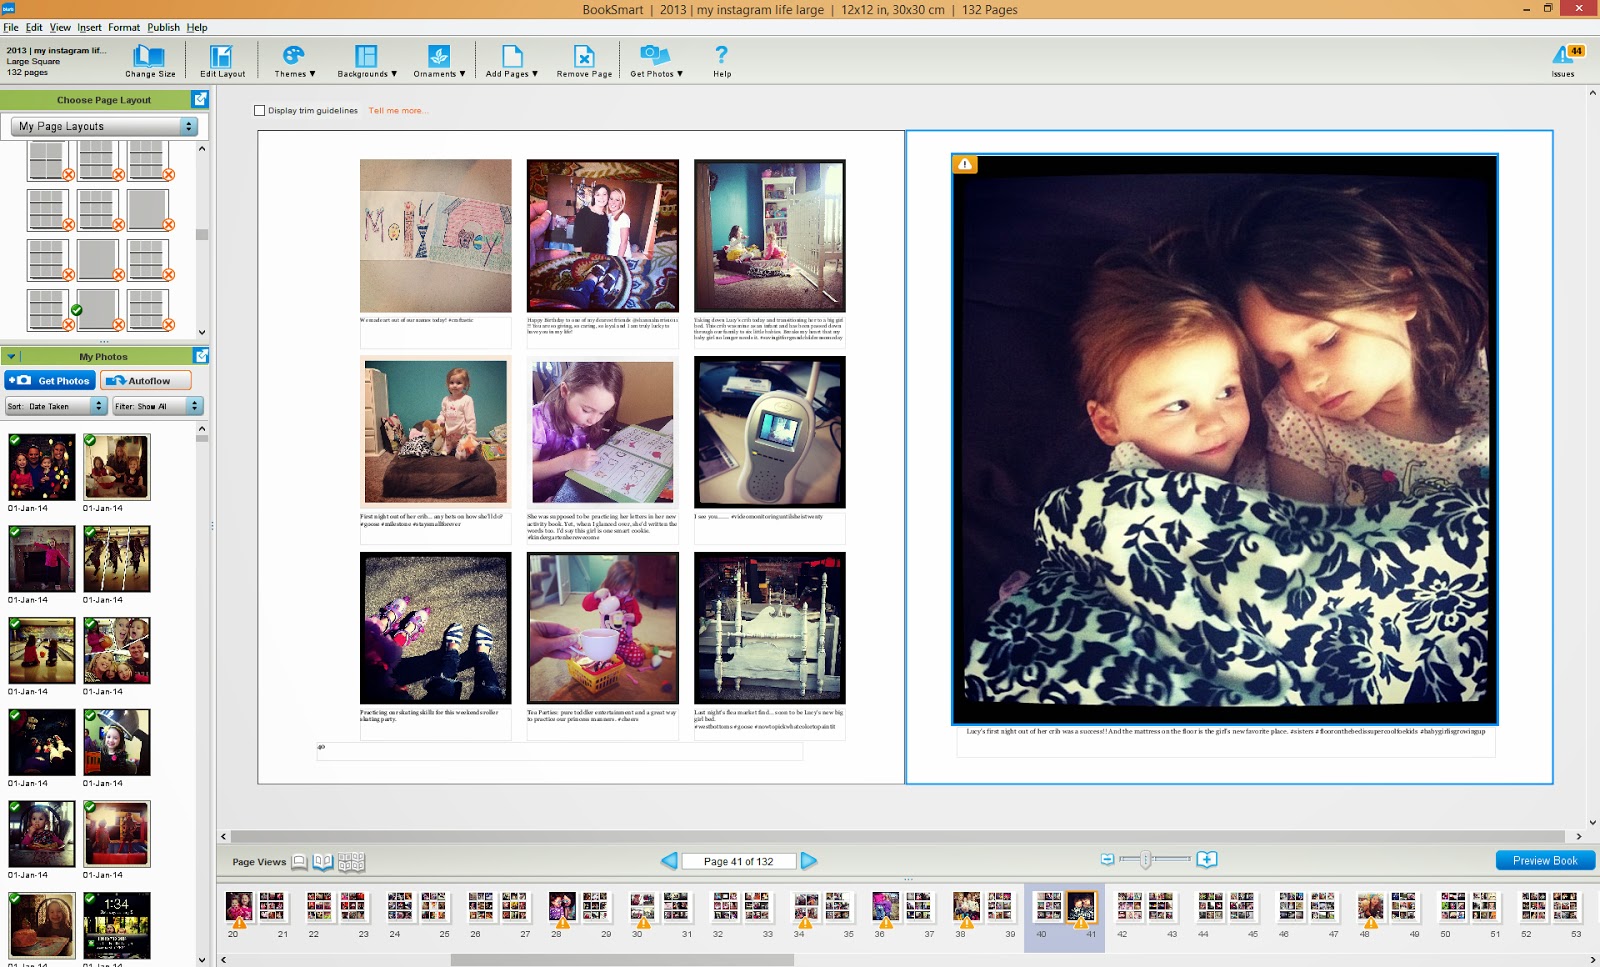
pages with six images...
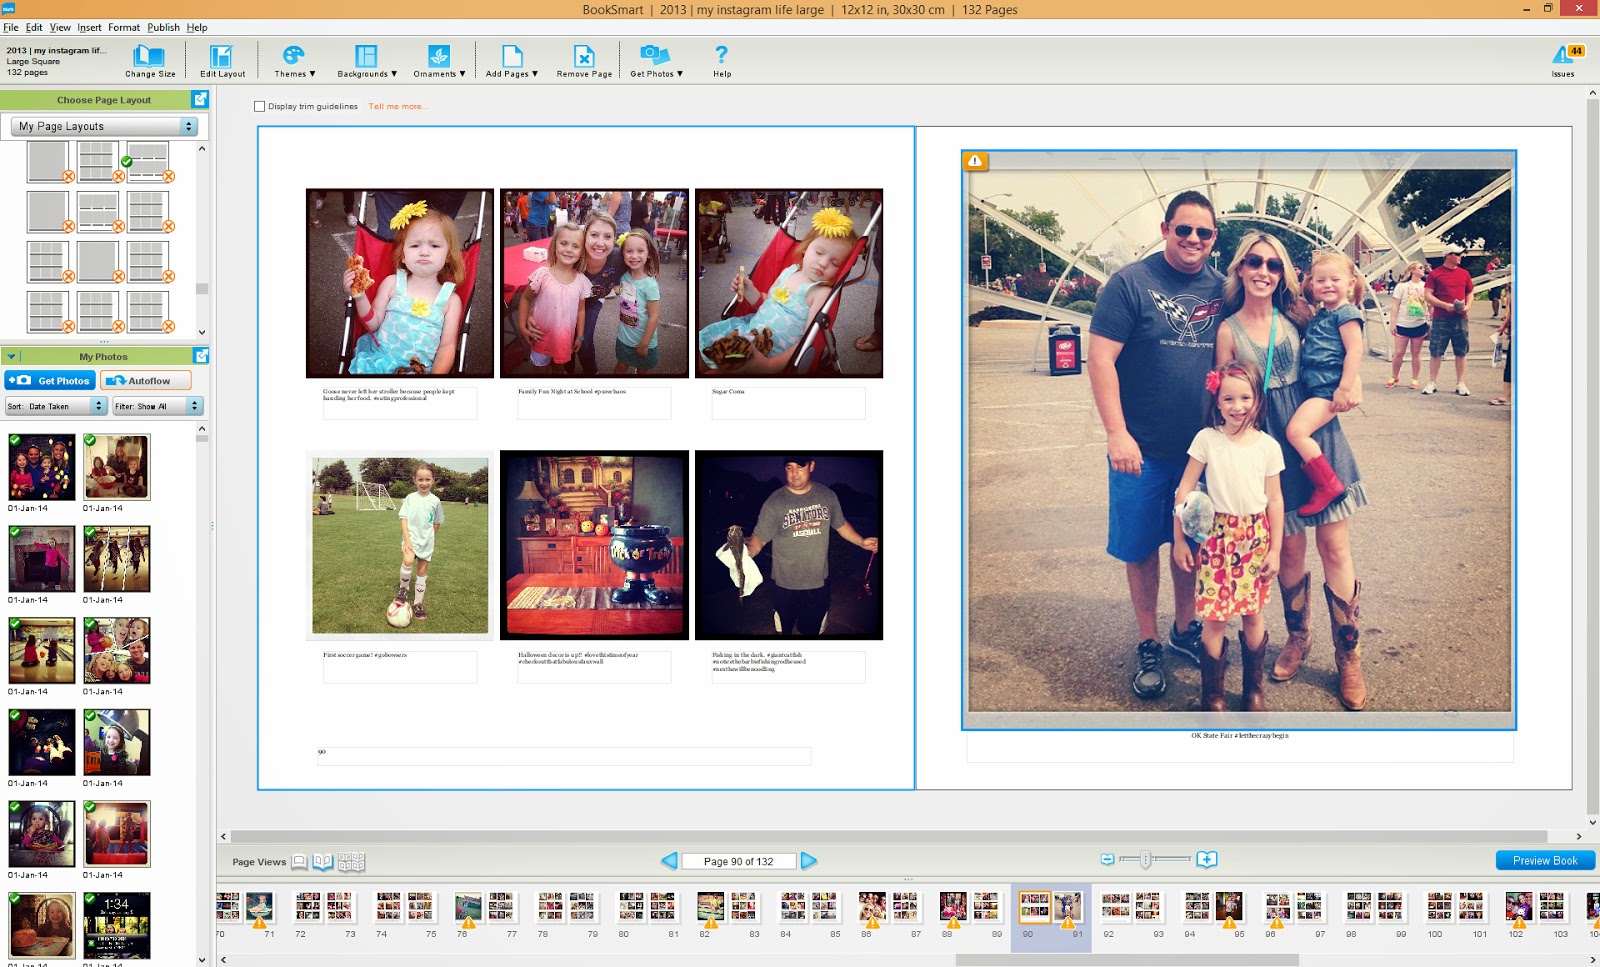
even pages with four images...

Because I like simplicity, I kept all my layouts very similar. Just a square image box with a caption box underneath. And as I changed them from the original pre-made layouts, I saved my new custom ones into "My Page Layouts" so I could use them later-on in the book.
Once you get ALL your images in the book, then you move on to the final step...
Getting the comments that make those pictures all the more funny-memorable-priceless!!
Now if someone wants to scour the internet and find another way to do this, by all means, please do so. I looked and looked and never found a source where I could pull all my Instagram captions into a text document.
So I did the next-best thing.
I pulled up www.instagram.com and logged into my account.
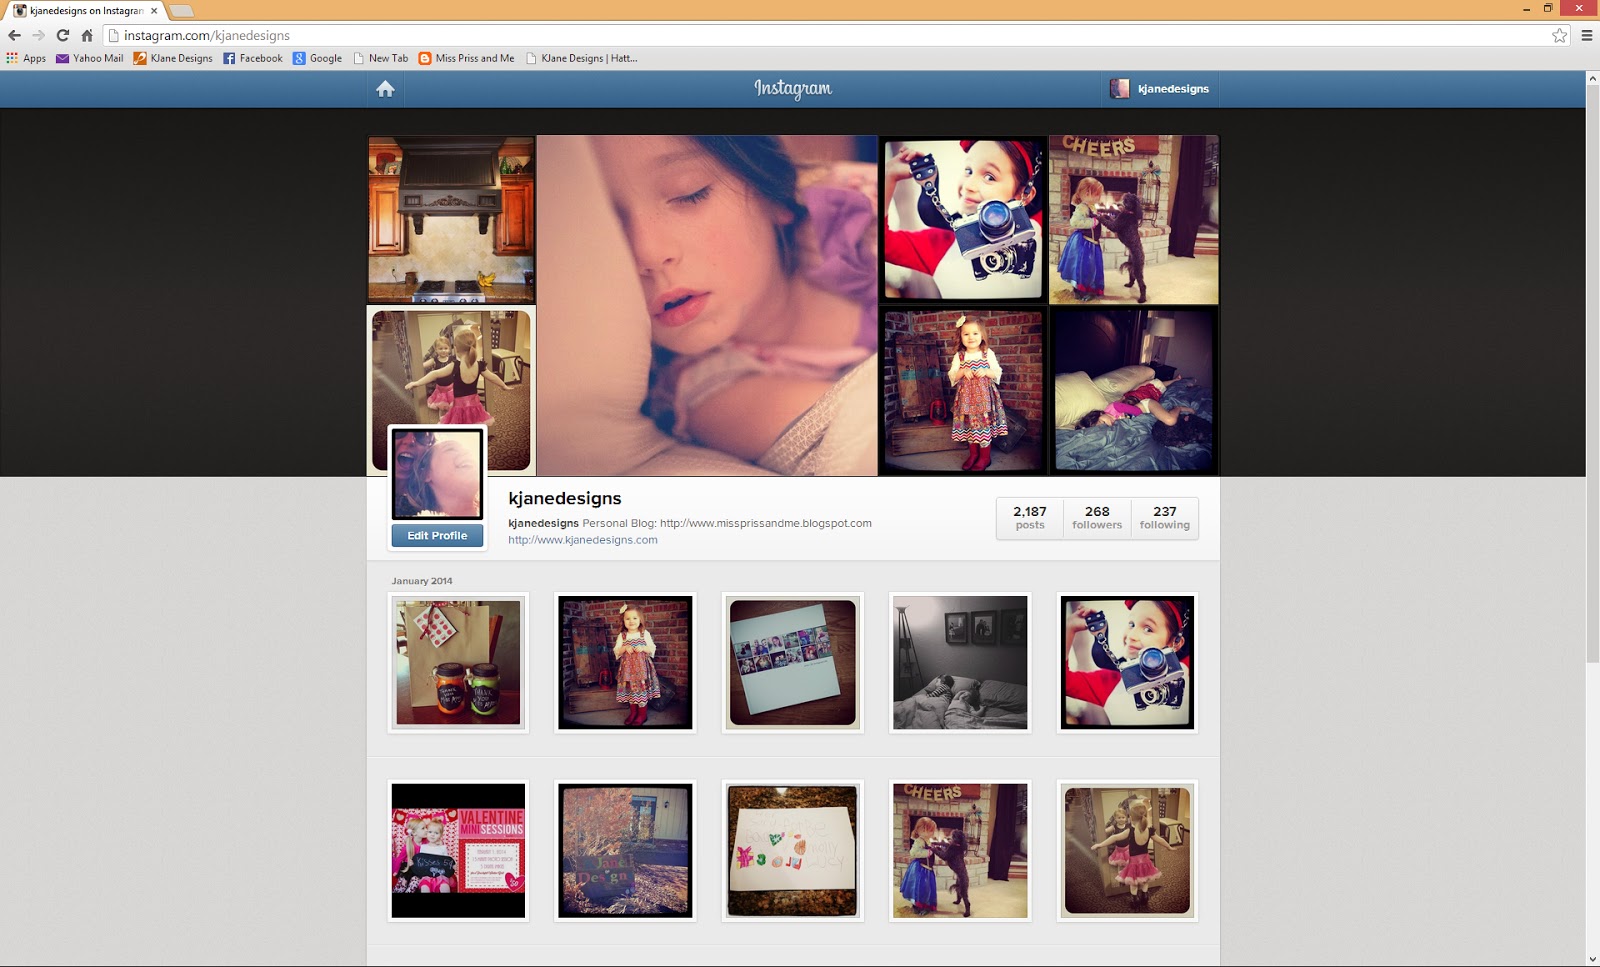
At this point I'm going to tell you to go pour yourself a glass of wine and turn on some music, because this is the part that takes the longest. But again, I reiterate - it'll be worth it in 50 years!!!
Starting with the very last photo in your book, click on that image in Instagram. When a window pops up, use your mouse to select your caption. Copy (Ctrl+C) and then go back to your Blurb BookSoftware and Paste (Ctrl+V) into the box underneath the corresponding photo. (This is a lot easier if you have double-monitors!)
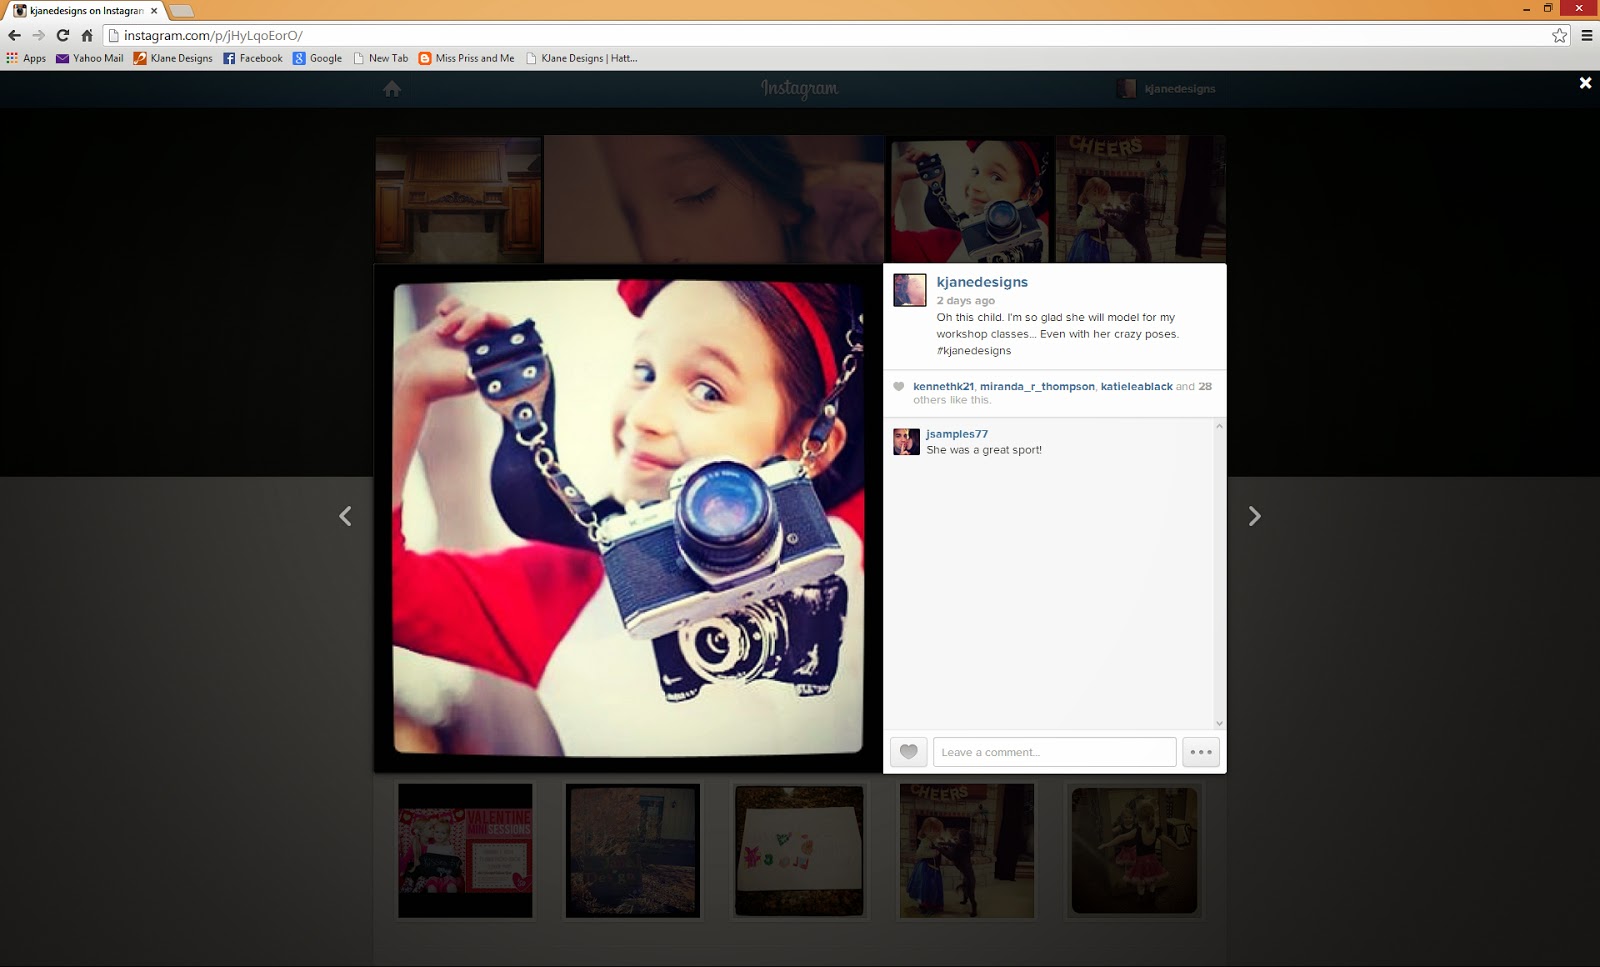
Now go back to your Instagram Window (online) and click on the little arrow to the RIGHT of the white box. It will instantly select the caption on the next photo. Repeat the Copy & Paste process.
I won't lie... you're going to be doing this for a while, depending on how many pictures you're using. But never fear, you'll get a rhythm going and you'll be done in no-time. Another tip is that if you have to take a break mid-book, keep your Instagram Window (online) open so that you don't have to scroll down and find that same image again.
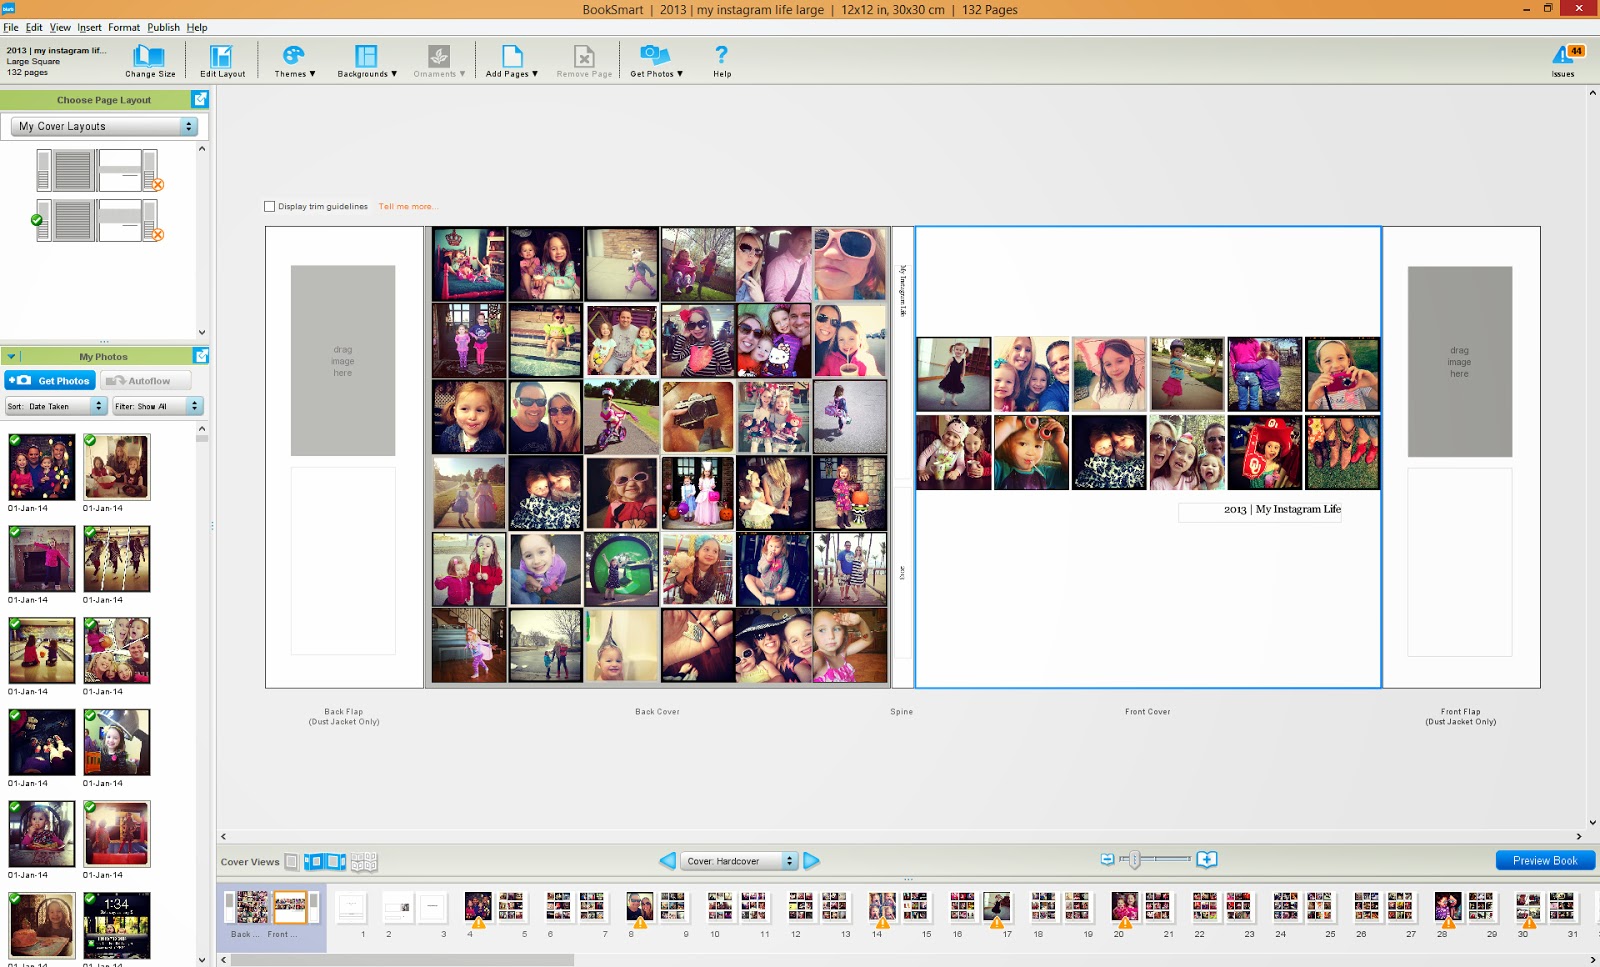
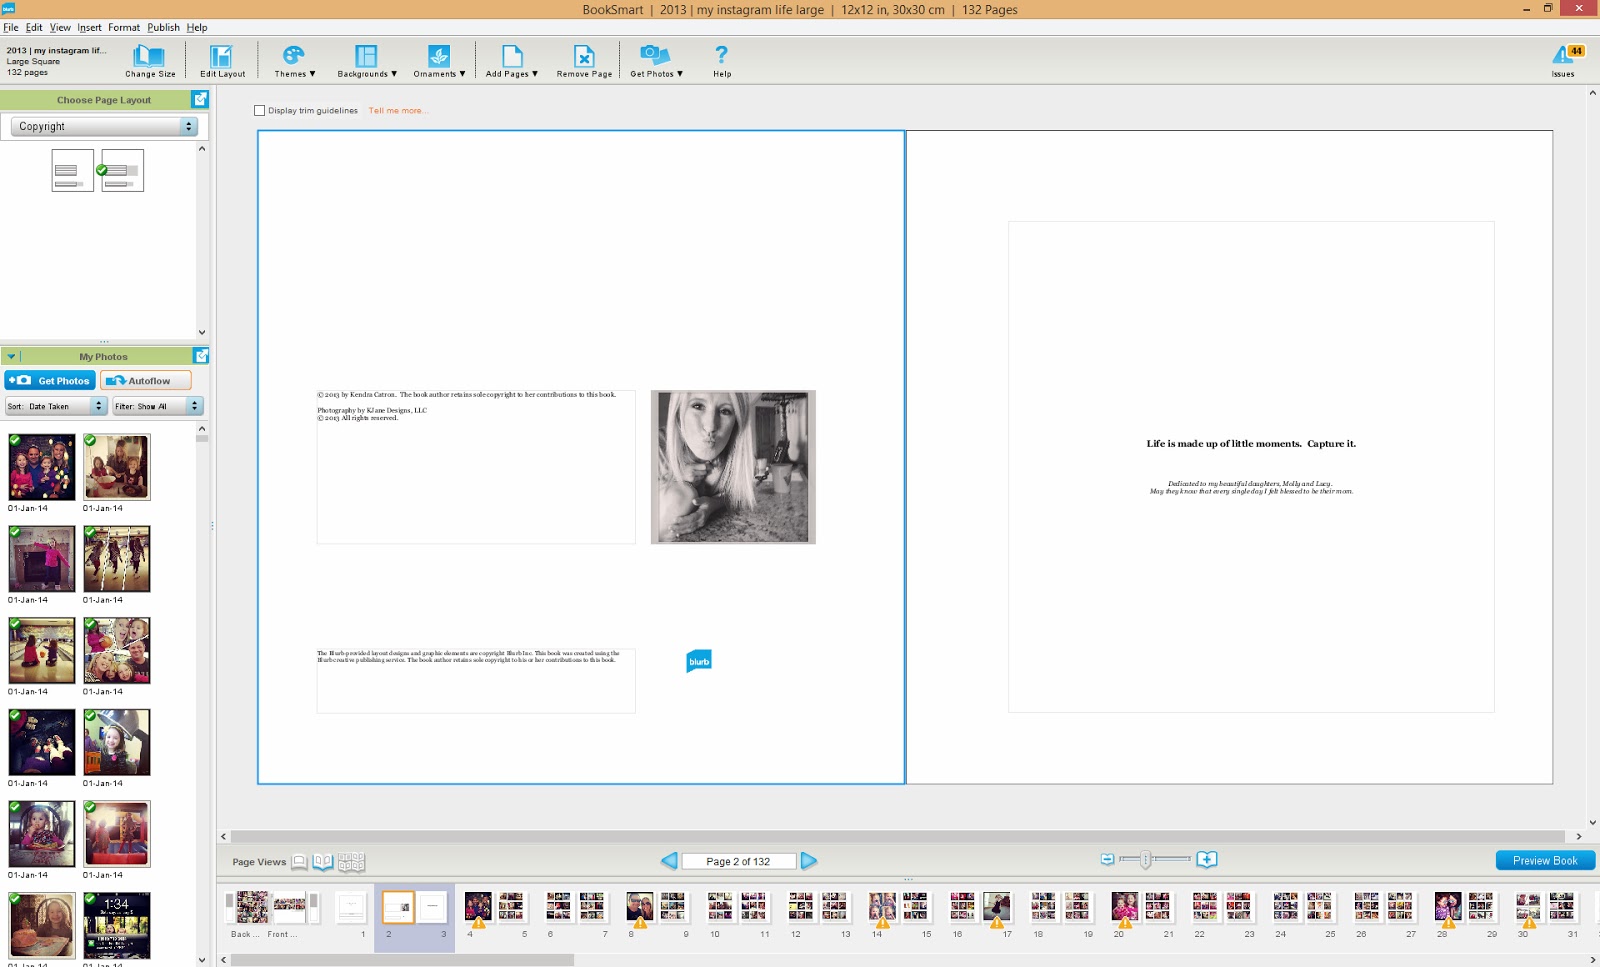
Once you've finished all the captions, the last thing to create is the Cover, Title, Copyright and Dedication pages.
For the cover, I wanted something crisp and clean, so I created two simple rows of my favorite Instagram shots. For the back, I used the same row layout, but filled the entire page with photos.
And for the dedication page... well, that's where I let my sentimental side show.
Finally, you'll want to PREVIEW your book and quite possibly have a friend or family member look over it too. There's nothing worse than getting your published book and finding a typo in it! Also, before ordering, be sure to look online for any good Blurb coupons! They come out with them fairly often, so most likely you'll be able to save money on your finished product.
****

So that's how I did it. And if anything, I hope I've inspired you to make your own Instagram Photo Book! Whether you follow my steps, or do something entirely different, you'll nevertheless wind up with a book that will be treasured for generations.
2013 Favorite | Rock the Shot July Photo Challenge
It was so hard to pick a favorite from 2013!
But in the end, I chose an image from an outdoor newborn session last spring... We purposefully decided on an outdoor location because they wanted to incorporate their large chocolate lab in their photos. Little did I know that the dog would be the best behaved dog I'd ever seen!!
Meet Cormac and Bear.


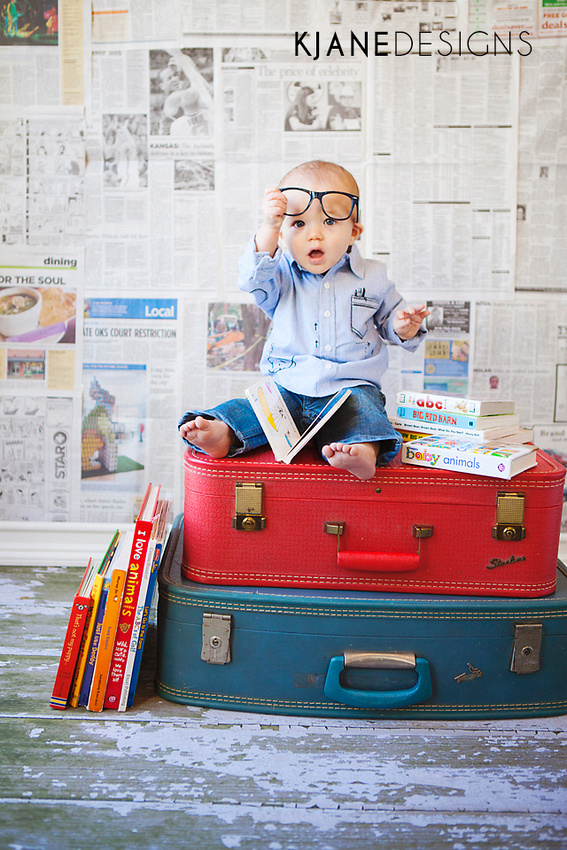
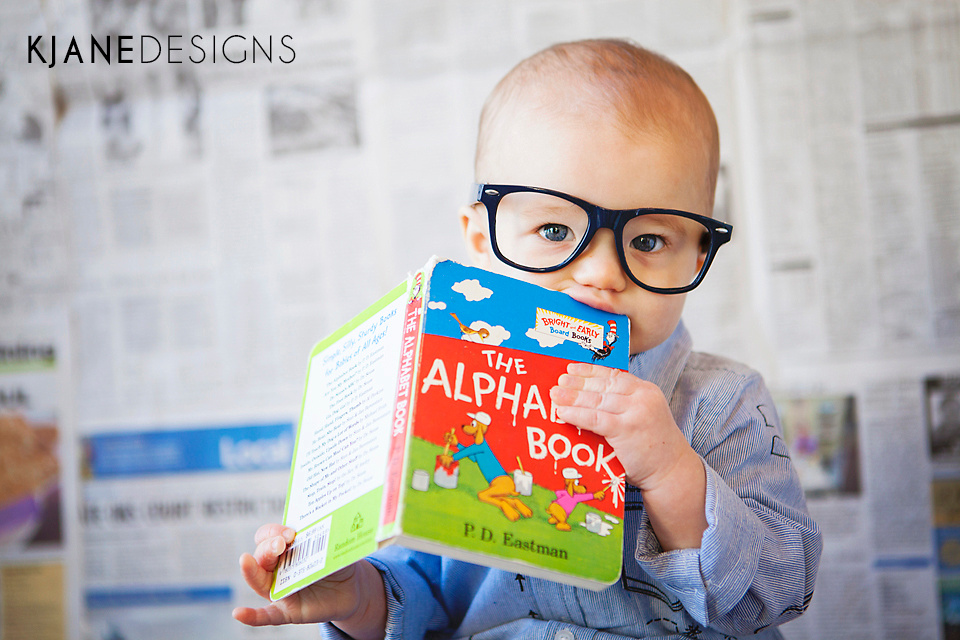
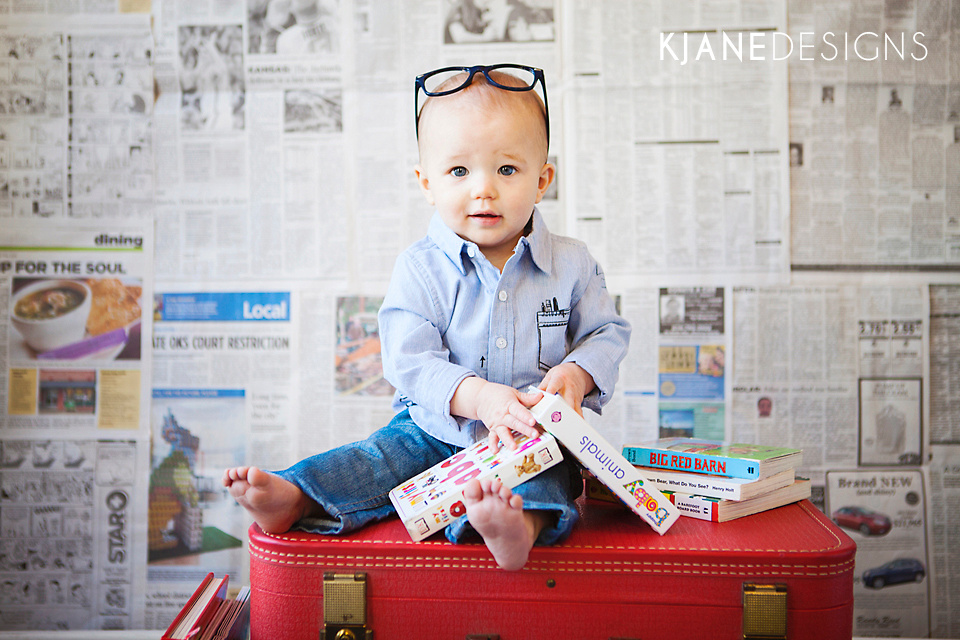
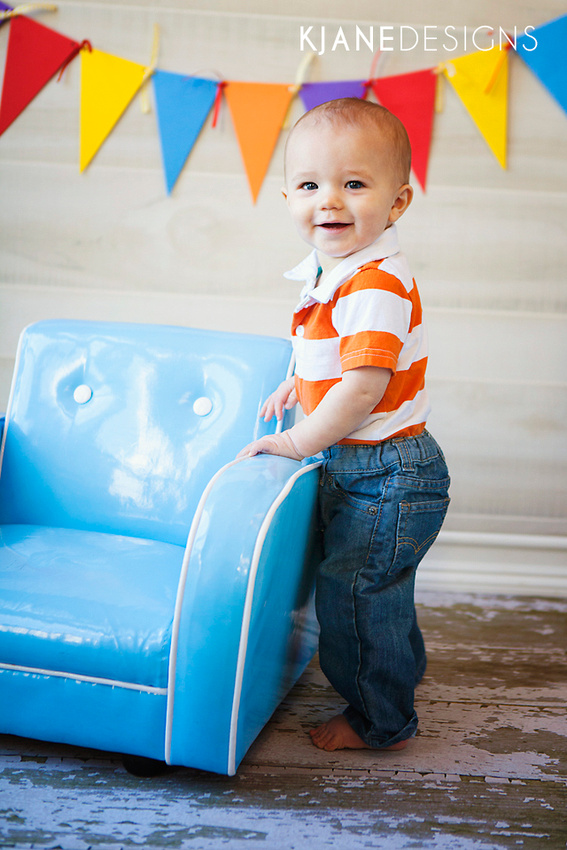
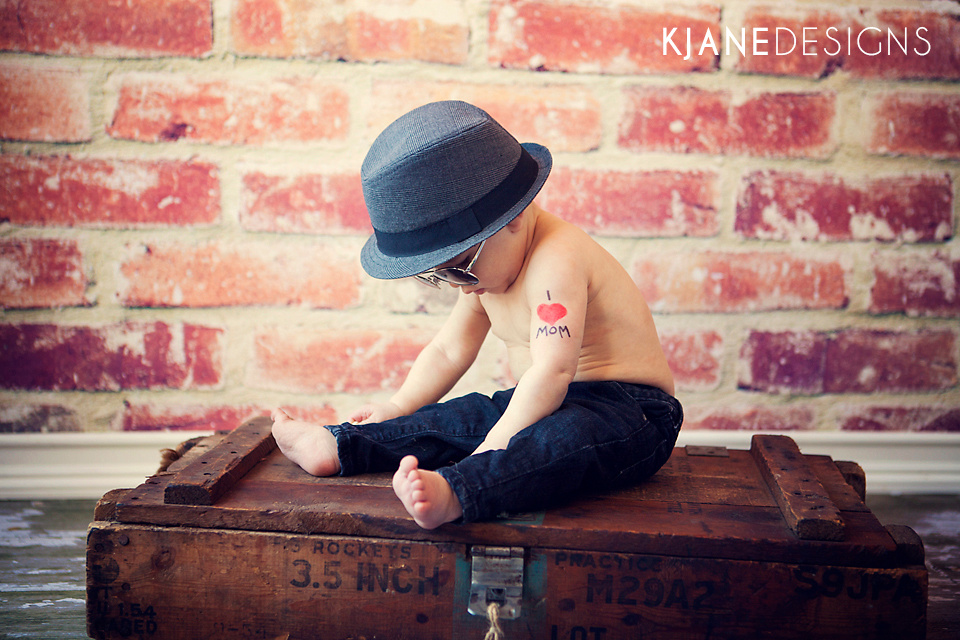
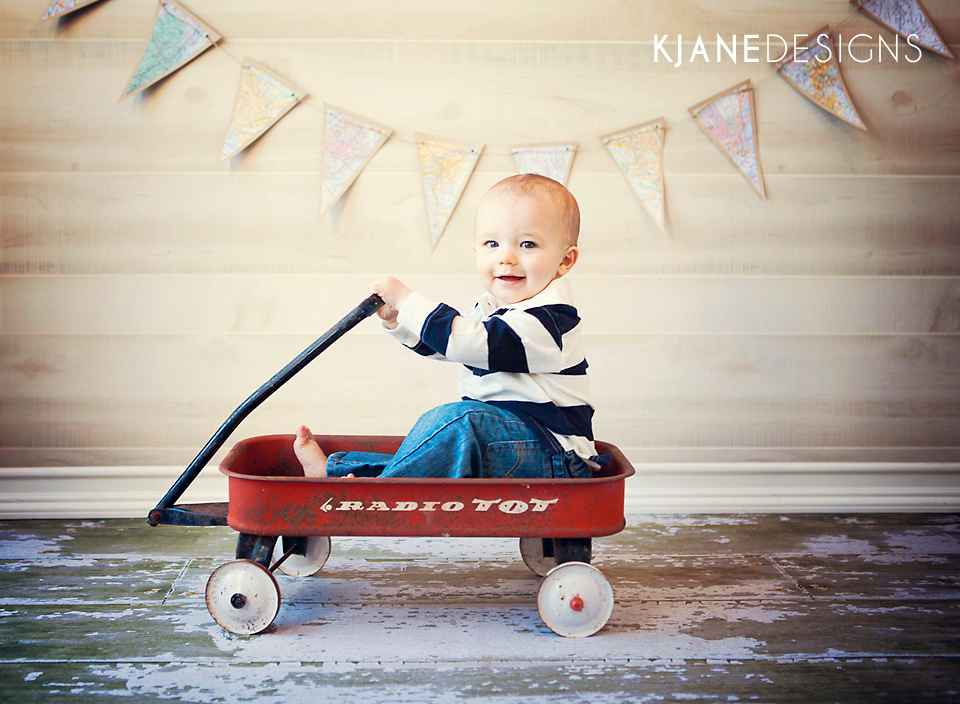
Cade - Nine Months
Just a few of my favorites of little man Cade! It's hard to believe this heartbreaker is almost ONE! Seems like just yesterday we were shooting his newborn session!!

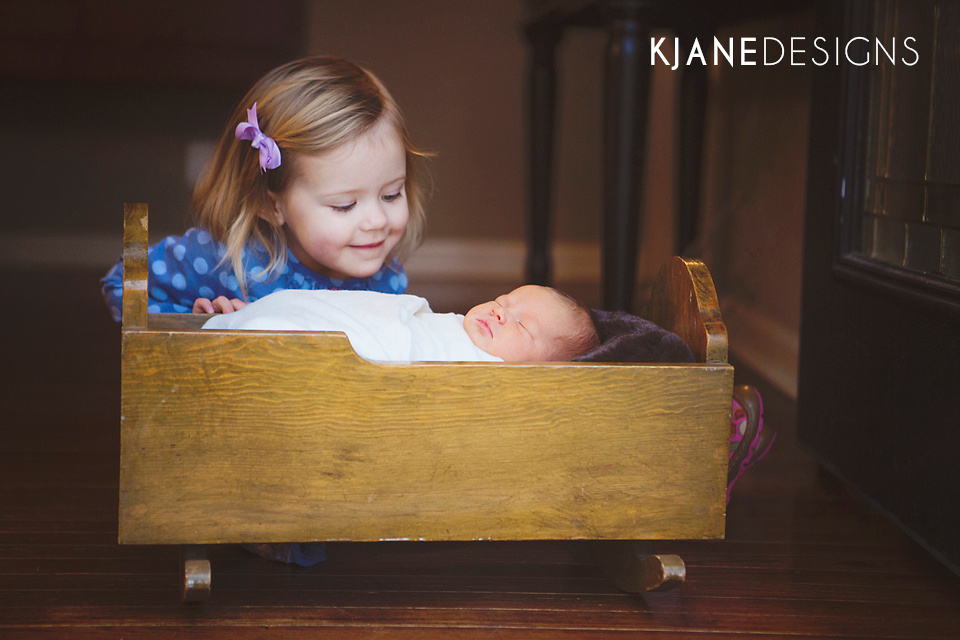
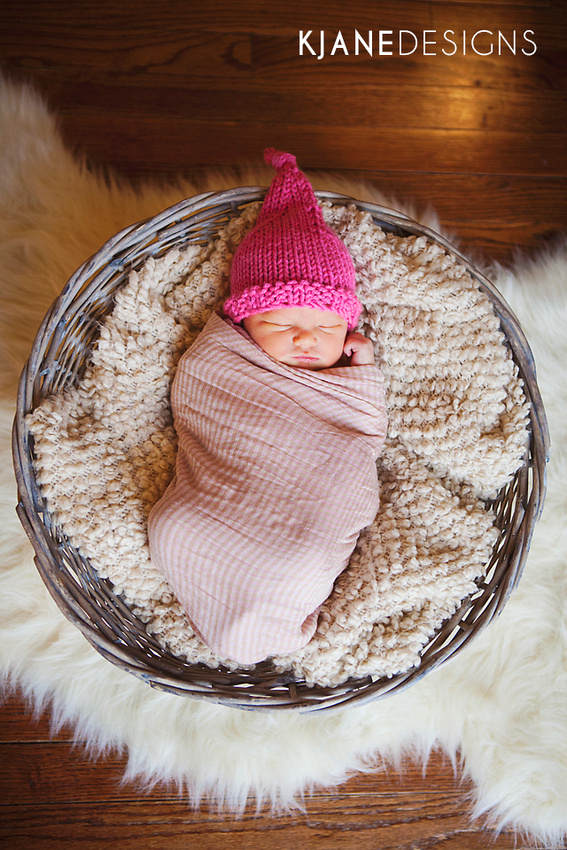
{SNEAK PEEK} for Baby M
A few weeks early, yet everyone is already smitten by this sweet angel. Welcome to the world Baby M!!

'Tis the Season to Give
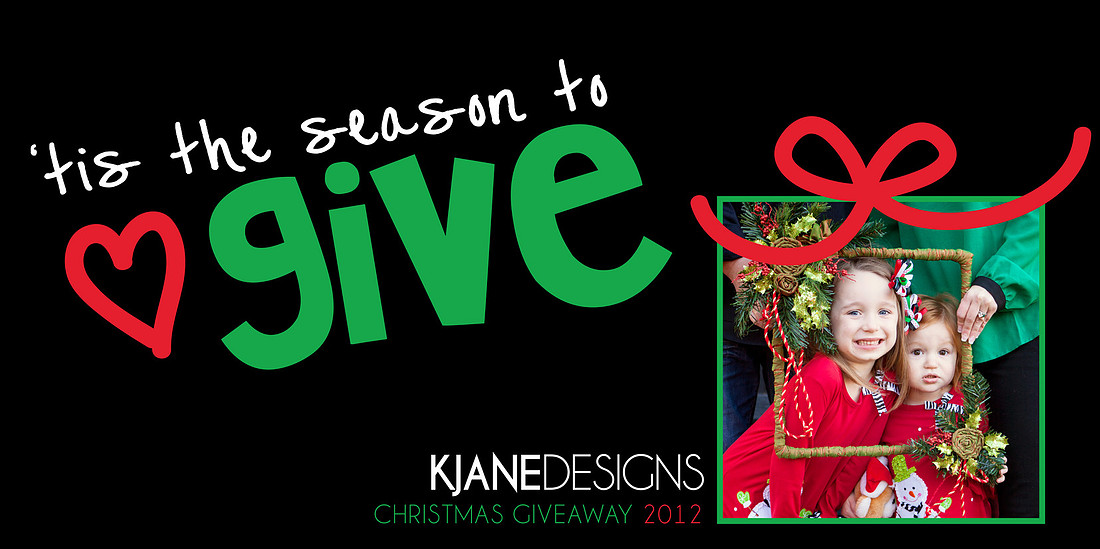
Merry Christmas my friends! It is truly my most favorite season of all!
This Christmas, as I count my blessings and the amazing year I've had with KJane Designs, I want to take a moment to GIVE BACK. I want to Pay It Forward and bless another family with what I do best... photography!
And so, I am asking for nominations of families who you think would appreciate this incredible gift. I'm asking my friends, my family, my awesome KJANE Facebook fans to take a look around them and identify a family that they would like to bless during this Holiday Season.
For nominations, please provide the three following things:
- Nominee Name and Contact Information
- Why do you believe this person/family should receive this special gift for Christmas?
- How has this nominee inspired you and others?
Nominations will be taken up until Friday, December 21, 2012 and can be sent through my contact page, through email ([email protected]) or through a private Facebook Message.
Thank you for nominating someone special this Christmas season! By doing so you are providing them the opportunity to win an amazing gift of memories to be cherished forever. The winner will receive a full 2013 Standard Session with KJane Designs!!! Winner will be chosen by Kendra Catron on Saturday, December 22, 2012 and be announced on my KJANE Facebook page Sunday, December 23, 2012. Good luck and thank you for helping me Pay It Forward this Holiday Season!
The fine print...
- *Session will be a full one-hour session, with 25 edited high-resolution digital images available for download off my website. (Valued at $225)
- *Session must take place in the Kansas City Metro area.
- *Session must be booked by November 1, 2013 and be taken by December 20, 2013.